Showing posts with label Parties. Show all posts

Hudson's First Birthday + Baptism


The morning of Hudson's birthday we woke him up with apple sauce pancakes, his favorite food. After grabbing the candle, and then blowing it out with the help of his older brother, it was time to dig in. Hudson devoured his short stack and kept looking for more. Until he spotted the gifts. Pointing and clapping excitedly, we passed the presents over to the birthday boy. Again, Behr helped the process along. These two, they were having a blast together ripping open the gifts and squealing in delight. You can see from the range of expressions in these photos, but it was pure joy in our home this morning. And that birthday sign behind Hudson? Behr helped me make it using these. Once the gifts were unwrapped, Hudson promptly put each and every object in his mouth. (inspiration)


Over the weekend, our extended family came into town as we gathered to celebrate Hudson. Sunday morning, Hudson was baptized in front of our church, who committed to raising him up in the faith. After the service, we picnicked at a nearby park for his first birthday celebration. Although the cherry blossoms hadn't quite come out, the sun was shining, the weather was beautiful and it was a lovely time with family. Hoagies, fruit salad, and cake were on the menu, as well as this delicious tea. The boys played and it was the perfect way to spend our weekend. We are so thankful for Hudson and the gift he is to our family.


Happy, happy, happiest Birthday Hudson!


Disclaimer: compensated affiliate links may be used in this post.

DIY Glitter Birthday Banner


In preparing for Behr's birthday party, I knew I wanted something personalized, but could not quite find the perfect fit. After seeing Anna's glitter garland, I had more direction, but still fell short of finding something within my reasonable budget. Then Anna shared a tip by one of her readers, glitter card stock, for cheap on amazon! Plus a little inspiration from Elizabeth, and I was ready to roll with my own DIY project.


Step One Supplies: 
  • 12" by 12" glitter cardstock - I purchased a 24 sheet pack, but only needed about 3 sheets in case you are buying them individually
  • printer paper, to print your banner template. I used century gothic, size 500, bold - lesson learned: use grey font color instead of black to save on ink, and only type each letter you need once.
  • pencil
  • scissors 
  • twine
  • tape

Step Two:

As I said in the supplies, you only need to print each letter once. I didn't want to risk missing a letter, so I printed them all, but only cut some out once (like the P). I also cut all of the printed letters first, so I could arrange them to maximize the configuration and reduce wasted glitter cardstock. Don't forget to flip your cardstock face down so your pencil lines are on the back AND flip your printed letters face down.


Step Three:

By arranging the letters as you cut, you catch any letters you might accidentally miss, or if you happen to cut a letter backwards, and determine which is the top of letters like H, because there is a slight difference with some fonts.


Step Four:

Lay the letters and twine out with the correct spacing to be hung. Then flip each letter vertically - towards you, not like a page in a book - and move the twine to the new top, not closer to you. This final step might require a book to hold the twine in place at the end, or an extra set of hands. Gently pull the twine so it is taut and tape the twine to the back of each letter. I chose tape instead of a hole punch because my banner was going to be back lit and I wanted to keep the letters solid. Also, I did not have ribbon on hand, but had plenty of twine. Note: Once you hang you banner, you may want to adjust the way a few of the letter hang and re-tape the back.


Be sure to check out my party inspiration board and the recap post (updated with sources!)

Disclaimer: compensated affiliate links may be used in this post.

The Greatest Show on Earth


Behr's second birthday is right around the corner. If I learned anything from his first birthday it is this: 1. Start planning right after Christmas and 2. Eat cake early. Don't wait until Behr is exhausted from all of the festivities and then expect him to perform. As grateful as I am for these lessons, they didn't help me figure out what to do this year. After racking my brain for potential ideas, under the sea, the jungle, red wagon, among others, I looked at what I had in my party supplies and started perusing pinterest. Some time in early November, I came across the chalkboard from a carnival themed wedding and finally settled on a circus theme!

I started pulling ideas from my own pinterest boards and all over the internet and this is what I came up with to get me started.

  • If I Ran The Circus by Dr. Seuss provided my color foundation, and kept me from going crazy.
  • Behr is obsessed with straws as well as milk and cookies. These yellow reusable straws will undoubtedly get use in our home for years to come. 
  • Anna posted glitter garland and almost jumped in my car to drive to Boston just to see it in person. She gave me a few pointers that saved both time and money. I'll share more about those after the party. For you non-DIYers, you can also purchase the one featured here from etsy.
  • Fun fonts! I love a good excuse to explore new fonts and make a new invitation design. You can order your own circus invitations from my etsy shop here.
  • My original inspiration. Would you ever consider having a carnival wedding? It looks like a blast.
  • I picked up these adorable red and white polka dot favor boxes at The Influence Conference Market in October, well before I had a theme in mind for Behr's birthday. But I couldn't pass them up. They might be perfect for animal crakers to go. 
  • These rainbow skewers were one of the first items I ever pinned. I have been dying to use them for a party, so they will definitely be on the menu.
I find it incredibly helpful to create an idea board for any party, event, or project I am working on. It allows me to step back and refocus on my original plan, even if I decide to head another direction, knowing my initial inspiration is key. I cannot wait to share how this all comes together for Behr's party this weekend!
Disclaimer: compensated affiliate links may be used in this post.

Seven Tips for a Great Event

Friends, I am so excited to have Jen, one of our newest sponsors, here today. She has a keen eye for decorating, keeping details sharp, simple, and classic. I wish we lived closer so we could collaborate on fabulous events, but this guest post will have to do for now. Enjoy reading her tips as you think about your own summer soirees!

+ + +

Hello fabulous readers of the Scribble Pad!

I'm Jen from Migonis Home blog where I blog about our home renovation and decorating adventures, party planning and just life stuff. Shannon and I decided to do a guest post swap today and she asked me to talk about the makings of a great party. I left my job as a full-time event planner for a college (Shannon and my alma matter) in June of 2011 to stay home with my son, Drew, full time. Since then I've taken on planning or decorating gigs and have loved working with clients to pull together that perfect party!

Let get started, shall we?


Tip One:
Everything should look well planned out. Invitations should coordinate with the placecards, the cards on the food table and the favors. It creates a flow to the entire event. Take this baby shower I threw for my best friend, Danielle... here are the invites:


Then, here is the food table (the lighting in that room made it so hard to take the photos); the item descriptors match the invitations with both colors and fonts.


None of this was done in any fancy program, either, I made the invites and the cards for the table in Word and sent them to a printer (I think you could use a Staples or a Kinkos). The cohesive feel is easy to do and it wasn't that expensive, either.

Tip Two:
When planning your guest list think through every aspect of your party. If you don't have a large budget or a large space to work with then make your party smaller, it seems basic but it is better to have a nicer meal for six of your closest friends and have some nice food than have cupcakes for 30 people (obviously there are exceptions to this rule).

While you are planning your guest list make sure that everyone knows someone else. If this isn't possible let the person who is the odd man out bring a guest. Hospitality is making people feel comfortable!


For our Easter dinner this year AJ and I made this flower box out of an old pallet. It was nice to have such a small group (five of us plus Drew) because it meant conversation was easier over just one table (I was worried it could be up to 12 people and I wasn't sure what to do...) and we could make a fun centerpiece like this because it was for just one table.

Tip Three:
Work with what you have. If you don't have bucco bucks to work with then NO problem, and I mean that. Do you want centerpieces that look fab without spending the money? Think creatively. I threw a luncheon for my girlfriends the day of my wedding and used hydrangeas growing in my mom and dad's yard and some lemons from the grocery store. It was easy and definitely worked in my budget.


Tip Four:
Choose your theme and run with it. Sometimes it's really nice to have limitations because it forces you to be creative, sometimes all you need are pops of color. For this set up I didn't have a large budget or tons of time so I used inexpensive yarn, balloons and ribbon to give the pop of red that I needed. This was for a Valentine's Day snack time after school or I made simple boxed mixed brownies and cupcakes (healthy, I know...) and added hearts or red sprinkles.


Tip Five:
Think through every aspect of your party and what could go wrong.  Lately I've been trying to only put my email address (no phone number) on invitations because I know that 90% of people have an email address now, it helps me to monitor my RSVPs and have them in a central location instead of receiving a call on my cell while I'm in the grocery store with nothing to make a note. But, monitor your guest list, know who may not have an email address and contact them yourself.

My friend Heather gives us a very good example of thinking through every aspect of a party. She threw her son a Curious George birthday party in June and it was adorable. She knew guests wouldn't know that the party was around back by the pool so she put this cute little display by the front door directing them where to go.


Tip Six:
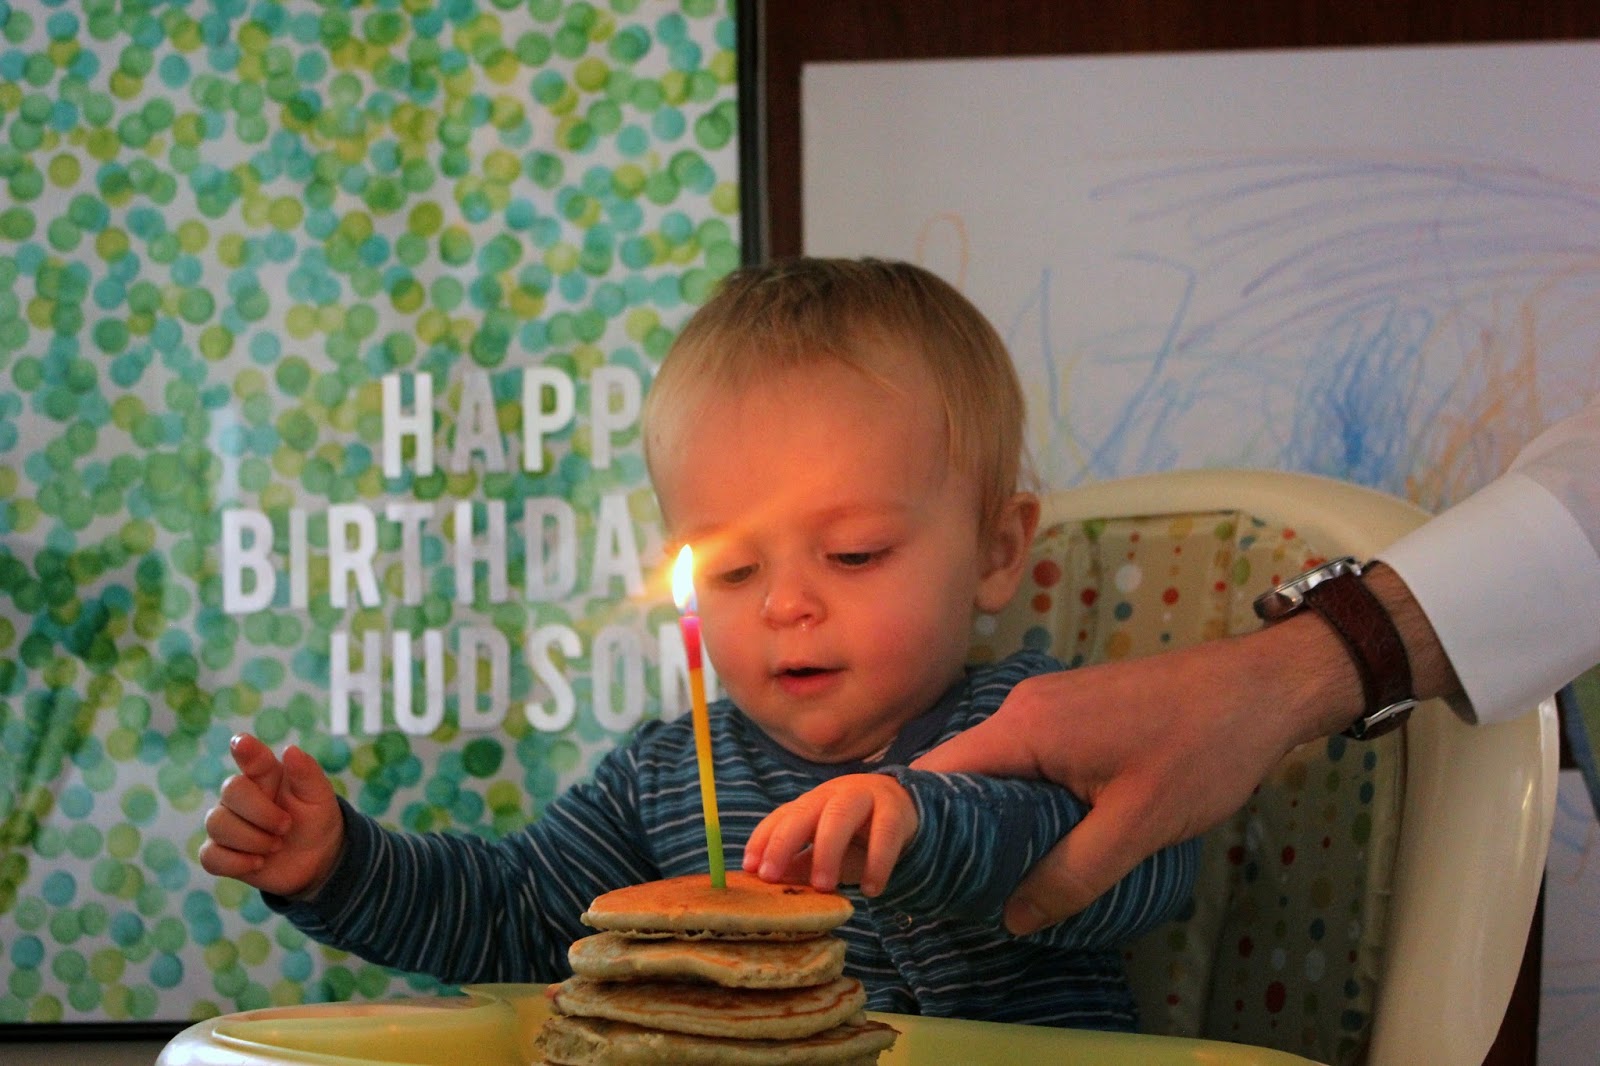
Be creative about your meal planning. Maybe you aren't a cook. Trust me, I understand, I'm definitely more of a baker and if every party could be about desserts I'd be okay, but I'm not great at making food, that isn't appetizers, for a large crowd. Here was my solution for my son Drew's first birthday: a make your own salad bar and pizza ordered from our favorite place. It was easy and didn't make for any prep while guests were at the party. If you don't want guests to know that you bought the food then just put it into your own large serving dishes, it's an easy way to fool people. :)

Let's go back to Danielle's shower that I mentioned in the beginning. I made two frittatas and baby pancakes ahead of time and then just kept them warm in the oven. I had two people bring fruit salad and then put it in my own large bowl. I like to make sure I'm not doing a lot of work with the food while the guests are there, otherwise it'll take away from the party.


Tip Seven:
Create height in your displays, it adds interest and drama! If this was a real dinner party it wouldn't work that well because you couldn't see the person across the table from you, but something like this could be really great on a food or gift table.


Tip Eight: (I won't charge you extra for this one.)
If you are a party loving person invest in some white dishes. I find some great unique ones at Home Goods, Marshalls or TJ Maxx and they are so great and interchangeable when hosting large events.

That's all, folks! I hope you have a wonderful Tuesday and that you'll stop over to Migonis Home and introduce yourself... and really, I mean that, I thrive off emails and comments. :)

Dreamy Blues and Greens


this may look like the start of a fashion post...
...but this anthro window is actually my latest party planning inspiration!

No sooner than I recovered from planning Behr's birthday party, I began planning his baptism. On Sunday, we will have a small gathering with our immediate families. However, never one to miss an opportunity for snail mail, we sent announcements to our loved ones, asking them to join us in prayer from their homes and churches across the world.

My obsession with watercolor continues, along with the rest of design world! So it should come as no surprise that watercolor and my favorite cool shades are the common theme here. Take a sneak peek at our top invitation choices from tiny prints*


1/2/3/4/5/6

Our design has been picked, envelopes have been addressed, and lovely cards have been delivered to homed of our beloved.

Can you guess which design we chose?

Photo Booth Back Drop Tutorial


After hunting for weeks for a sky back drop, the perfect cloud print sheets, or anything else that would make our party guests take flight, I resorted to making my own sky. I used a roll of plastic table cover left over from a baby shower a few years ago, crepe paper, pom pom fringe (an obsession inspired by Sarah Richardson), and painter's tape. In total, this project set me back about $20 and an hour of my time.


You can see more of the pictures here. But the real gem is the late night, poorly lit, zoomed out view showing how everything held up.


How about that? Another bold impact that was easy as pie! And didn't even have to look pretty, although I might have trimmed it out in painter's tape if I had thought of it at the time. You may also notice that we needed to widen the streamers after the first round of pictures. 


Balloon Garland Tutorial


a few extra minutes and common household goods can bring life to your party or your valentine's day!


begin by blowing up your balloons

pull a long piece of twine, one and a half times the length you desire

and tie about half of the balloons down the length of twine (be sure to leave room at the ends) until you have what you think you need. test it to be sure.

 after you have tested your single row of balloons and confirmed the placement, secure the twine.

then gather your twist ties and remaining balloons


alternating up and down, fill in between the twine tied balloons with twisties 

it is important to alternate up, down, high, and low to give you garland a full look


step back and examine your work, filling in any remaining gaps

it only takes a few minutes to give your party and extra boost of excitement


just in case you don't have these items laying around, 
check out Olive Manna, my new favorite stop for all things home!

Airplane Birthday Party


 An airplanes theme first birthday party, filled with streamers, and bunting, and balloons. My inspiration came from Dina, proprietor of Honey + Fitz, and her adorable vintage bomber planes. This past summer, With Two Cats held a giveaway, and I won 6 incredible planes to frame for Behr's big boy room some day. I immediately fell head over heels for the theme "take flight" for Behr's first birthday! And thus, a theme was born.

The Menu:
pigs in a blanket
behr's favorite veggies
goldfish
pirates booty
airplane grilled cheese
and fruit salad


 The Guests:


The Entertainment:
which sadly, terrified Behr!


 The Cake:

Behr's Reaction:


Behr was unsettled the moment we put him in his chair. We aren't sure whether it was the cake, the crowd of people looking at him, or the singing. Likely it was a combination of all three, and I can't blame him. Ultimately, we waited too long, so Behr was also tired. I don't think he even had a single bite of cake. He did however enjoy smashing the cake in my face. And then we had a big 'ole family smooch!

The Presents:
behr had many helpers

The Piano:
the unexpected hit of the party!


We also had a photo booth {which you see a peek of in the piano pictures}, but those are pictures for another post. The party was a hit.  Behr was happy the almost the entire time, and loved having all of the big kids to chase after. The party was a wonderful celebration of Behr with friends and family. At the end of it all, we were content with the balance of effort and fun that we put into making this day special. The biggest help was having my dear friends, Michael and Lindsay, take these photos! I did not have to worry about my camera or taking a single picture because I knew they had it covered. And my favorite shot of the day, might be this sweet father son moment. 


my sleepy behr.

So glad I get to call you my one year old!

LinkWithin

Related Posts with Thumbnails
Land Of Nod: Design for Kids and People That Used to be Kids